Thursday, November 29, 2018

Tulle Shaker Cards

Have you ever made a shaker card using tulle instead of the standard window sheet transparency?  It's fun and easy and actually a little more forgiving than window sheet.


The tulle is more flexible and can hold a little more 'ingredients'.  The window sheet holds it tighter and you can add glitter.  Glitter falls out through the tulle.*Ü*


This is the traditional window sheet shaker, see the difference?


How to make a shaker card with tulle.

Cut the circle - I cut it through both layers so you can see it all the way through the card. 
Line up a card front size sheet of cardstock and cut a hole lined up to match the front. You will use this layer to do the tulle work.

\

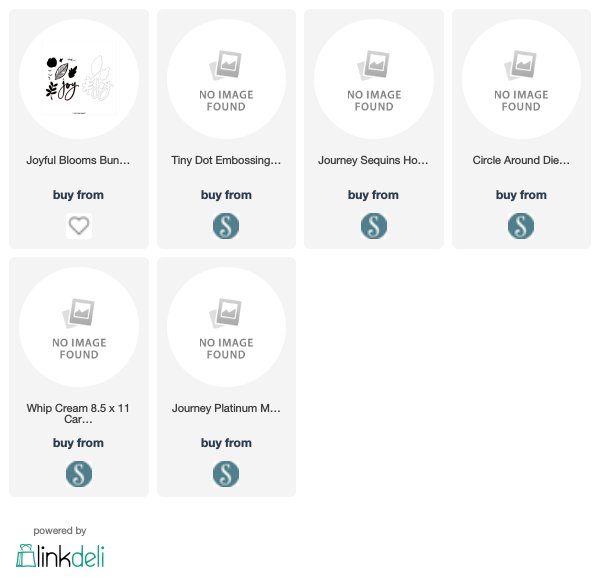
On the card front, I ran it through the embossing folder for texture and then I stamped and cut the vine with the Joyful Blooms Bundle from The Stamp Market.  I laid it on for now to see how it would look but did not adhere them.


I didn't get photos of the actual shaker part - don't ask me why! ;-(  But here is how you do it... 
Cut two pieces of (I used white) tulle larger than the circle you are covering.  I used liquid adhesive to glue one to the back of the circle (which is the backside of the card front piece).  Fill with sequins and adhere the other piece of tulle.  Layer this onto the front of the full card size cardstock so your work does not show.
On the outside of the card, add foam tape around the circle.


Peel the release paper and adhere the foliage to create a wreath.


I stamped and embossed the 'joy ' and adhered it to the side of the wreath.
Give it a try.  
Left side is made with transparency window and the right side is made with tulle.  Can you see the difference?


Clicking on the shopping cart now takes you to my ordering page where you can choose from various companies to place orders. 
Facebook       Pinterest       Instagram

Tuesday, November 27, 2018

Red Cup Merry Christmas Card

I love the Starbucks holiday cups, so that is what inspired the red Christmas cup here. 
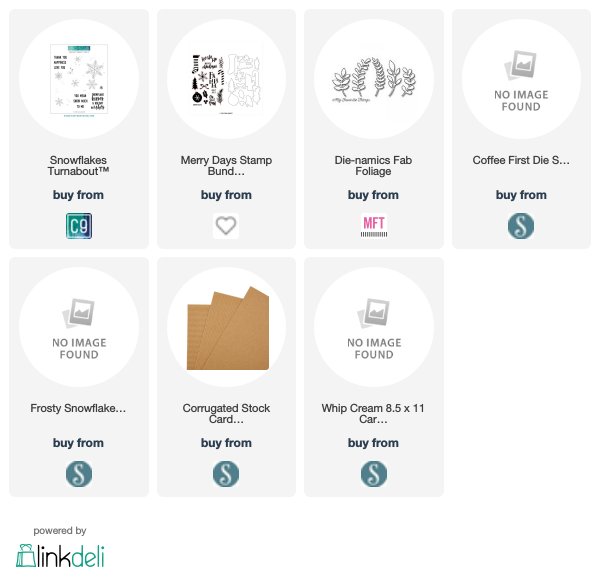
I stamped the background with the snowflake turnabout stamp from Concord & 9th, layered on a snowflake in white from Spellbinders +FSJ, then added the cup from Spellbinders +FSJ Coffee First Dies.  The greenery is from My Favorite Things and the sentiment from The Stamp Market. 


Use your bone folder to slightly curve the cup, add the foam square right in the middle and it will keep it's shape on the card.


Clicking on the shopping cart now takes you to my ordering page where you can choose from various companies to place orders. 
Facebook       Pinterest       Instagram

Sunday, November 25, 2018

Stacking Suitcases FREE Tutorial

Thank you for the great response on the stacking suitcases.  I have made another set and have the measurements and tutorial here for you.  
If you make some, I'd love to see them - tag me on social media @inkingidaho and while you're there, please follow me!


The finished size of the top suitcase is 4" x 2-1/2" x 1".  The bottom one is 5" x 3-1/2" x 1".  I am going to decorate these and turn them into a birthday gift, but wanted to get the measurements to you today as I know some of you are waiting.


This was the original posting decorated in Winter Wear Bundle  and the Plaid Background stamp (on sale - regular $20, through Monday just $16) by Concord & 9th.


Small suitcase measurements are cardstock cut to 8" x 6".  Score at 1" on all four sides and then 3-1/2" and 4-1/2" across the middle.

Large suitcase measurements are cardstock cut to 7" x 10".  Score all four sides at 1" and then 4-1/2" and 5-1/2" across the middle.

Cut up the outer score lines on both sides up to the intersecting score lines.  Make a 'v' cut from the flaps to avoid any paper handovers.  Fold on all score lines and assemble.


Adhere the four outer corners to the inside of the box and let dry.


Hold with mini clothespins and then you don't have to stand there for minutes. *Ü*


Fold the lid back and the middle flaps inside and adhere.  Again, hold for a minute with clothespins.


Once everything is set and dry, close the box.  It can close either way, there is no right or wrong.


The handles are 1/2" wide.  The small box handle is 3-1/2" long and the large box handle is 4-1/2" long. Score both at 1/2" and 3/4" from each end.  Bend backwards and forwards to get the shape and adhere to the box lid.


From there is it all about the embellishments!  As I said earlier, these will be birthday boxes when I finish them.

There are still some awesome deals to be had through Monday.  The Stamp Market, Concord & 9th and Spellbinders + FSJ are my three favorites!  This is where I shop and most likely the things I will be showing you in the future.


See this posting for individual category links.

Clicking on the shopping cart now takes you to my ordering page where you can choose from various companies to place orders. 
Facebook       Pinterest       Instagram

Friday, November 23, 2018

Black Friday Weekend Deals!

There are so many crafty Black Friday deals this weekend.  Please use the links below to order from my favorites!
Some are already going on and some start this morning - don't miss out!
20% off the entire store!!


20% off the entire store!!
These gift tag letterboard dies will be released Friday from the Stamp Market - I have so many ideas to show you with these!!!  

See this posting for individual category links.


25% off Stamp and Die Bundles

Clicking on the shopping cart now takes you to my ordering page where you can choose from various companies to place orders. 
Facebook       Pinterest       Instagram