Sunday, June 30, 2019

Sweet Sentiment July Copic Coloring Class

It's time to show you the July class from Sweet Sentiment.  Oh my this one is so cute - I love this little Bella with her great big flowers!!   

Learning to color the flowers on the other hand...well, let's just say I got there eventually but you should see my garbage can! 


I stamped two of these and cut the little Bella's head out (I didn't say off! *Ü*) and reattached it with a foam square.  I like that it has more dimension.  I took this photo at an angle so you can see it.


The kit includes the rubber stamp from Stampingbella, a Sweet Sentiment chamois, a bottle of Nuvo Glitter Drops and the video lesson to learn all the techniques to color the flowers and achieve texture in the paper bag and dress.


I created another one while the lesson was fresh on my mind and changed out the colors.  Can't say the yellow is my favorite but this little Bella is sure sweet!
If you would like to learn Copic marker coloring or improve your coloring skills, I encourage to take online classes from Sweet Sentiment.

Clicking on the shopping cart takes you to my ordering page, where you can choose from various companies to place orders. 
Facebook       Pinterest       Instagram

Friday, June 28, 2019

Friday Feature - Butterfly Love Bundle

Have you tried the Concord & 9th Turnabout stamps?  
They are so creatively engineered, it's a bit like magic when you finish.  Head over to their website to read all about the Turnabout stamp because if you don't know, you will be happy you do now!


This weeks feature is the Butterfly Love Bundle.  I used the Turnabout stamp just twice (instead of all 4 turns) on this background.  

This is a shaker card filled with the tiny butterflies cut from the dies and sequins.  You can head over to my Instagram to see the video in my stories.


I created the background with all four turns of the Turnabout stamp then cut the butterfly and the index cards with the large butterfly die.  This one has a window sheet for the cover even though you can't see it in the photo - it's shiny!

Here is tip for you if you decide to make some of these index card rings.  Buy the cheap index cards at back to school time.  The ones that are thinner and more papery, not the ones that are more like cardstock weight.  They cut like butter in the die cutting machine and you can cut up to three sheets at a time, sometimes four.
 I used 1/2" size binder rings to put them together.


One of the things I love about Concord & 9th is not only do they have a video for practically every stamp set but they have these cool guides for them too.


Clicking on the shopping cart takes you to my ordering page, where you can choose from various companies to place orders. 
Facebook       Pinterest       Instagram

Thursday, June 27, 2019

Hello Heidi Wall Art

Something different for today - a little home decor.  
I've had this giant hello for over a year, so it is high time to get it out of the closet and on the wall.  Do you have projects like that that sit around forever?  Right...it's just me. *Ü*


I bought it unfinished from Heidi Swapp's Hello Heidi Wall Art on Instagram.  I think it took me so long because I wasn't really sure what I wanted to do with it - I just wanted it!


So as per my usual these days I painted it with a dog and a cat on my lap.  I don't seem to be able to do much without them.  I painted it black, slightly distressed it and varnished it.  Then I made some beautiful paper flowers to go on the 'h' and hung it in our hallway upstairs where I work.  Now I get to see it many times a day as I go up and down the stairs.


I really like how it turned out.  I actually mounted the flowers on a piece of foam core and then cut around them so you cannot see it.  I added those to the wall with a Command Hook.  They are separate from the hello in case I ever want to change it.


Clicking on the shopping cart takes you to my ordering page, where you can choose from various companies to place orders. 
Facebook       Pinterest       Instagram

Tuesday, June 25, 2019

Mail Drop Cards and Index Rings

I have Mail Drop cards and index card rings to share with you today. I absolutely love this little mailbox and all the parts and pieces that go with it.  
I paired it with the Gingham background, another favorite that I can't seem to stop using! 


The card design was inspired by Jennifer McGuire.


I made a few extra mailboxes to create some index card rings with, These are the small index cards cut in half to 3" x 2-1/2".  You can also buy them in this size now.  I used 1/2" size binder rings to put them together.


I rounded the corners, added 25 pages to each one, punched the hole with a Crop-a-dile and tied them up with pretty ribbons.  
So fun, aren't they?

Clicking on the shopping cart takes you to my ordering page, where you can choose from various companies to place orders. 
Facebook       Pinterest       Instagram

Sunday, June 23, 2019

Some Kind of Wonderful

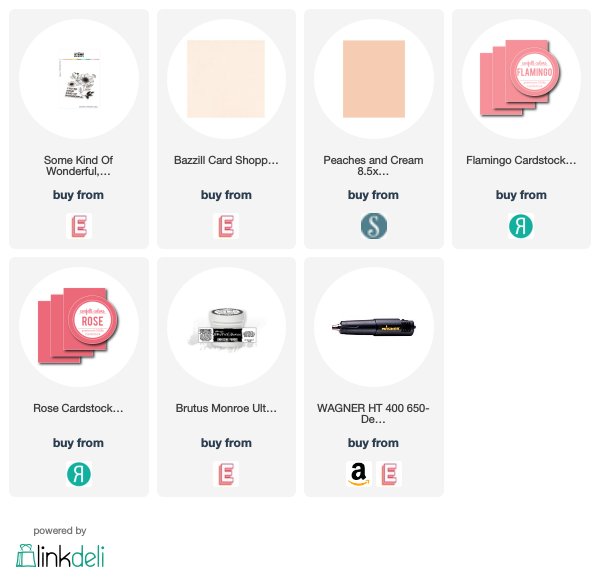
 Some Kind of Wonderful stamp set from The Stamp Market is one of those all around sets that is good for just about everything.  
You can use it as a background, color with your favorite coloring tools, emboss it ...anything you want!


Today I stamped it in gray and embossed the words in white on four different colors.  
The recipient of this card loves pastels colors.


Clicking on the shopping cart takes you to my ordering page, where you can choose from various companies to place orders. 
Facebook       Pinterest       Instagram

Friday, June 21, 2019

Friday Feature - Sweet Strawberries & A Throwback Sale!

It's Friday Feature time for Concord & 9th!  
I'm so enjoyed being a guest designer this month. This week we're showcasing the Sweet Strawberries Bundle.


I created a card and a candy box for my feature.  I also used the Gingham Background stamp here.


I love that Concord & 9th always have these drawings that show you exactly how to use each die.  No guesswork, no trying to figure out what something is - love that!


Look how the dies cut out the strawberry leaf for extra dimension!


 Did you notice the strawberries are rounded?  
Stamp and die cut the strawberry.  Turn it over, stamp side down, on a foam mat or mouse pad and gently rub a stylus in the middle.  It instantly takes shape.  Then, add a foam square to the middle before you stick it to your project.

 Concord & 9th is having a Throwback Sale today through Monday the 24th at 9 AM MST


Clicking on the shopping cart takes you to my ordering page, where you can choose from various companies to place orders. 
Facebook       Pinterest       Instagram