


Have you ever made your own wax seals?
This was a first for me, and it was pretty fun, I must say!
Honey Bee Stamps carries a full line of wax melts and accessories and this week you will be seeing quite a bit of inspiration on social media as the design team highlights the many ways to use wax seals.
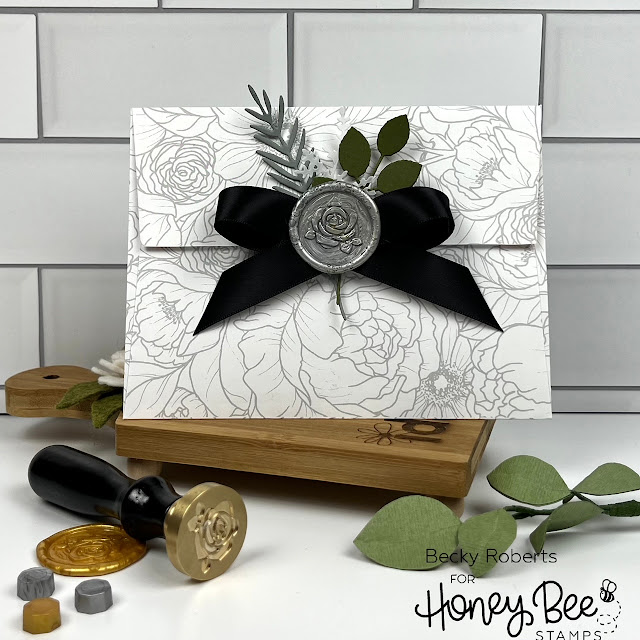
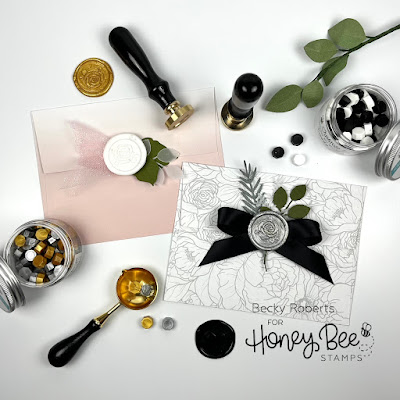
This first envelope has light gray flowers on it so I chose a silver seal. I used a bit of black satin ribbon and a few foliage dies cuts behind it.
This probably wouldn't be for mailing, but would be really pretty with a hand delivered gift.
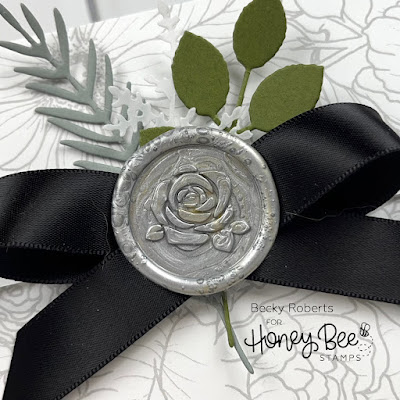
The gold and silver melts are in a mix called Honeycomb Wax Melts: All That Glitters.
I melted three of the little honeycomb shapes in the Melting Spoon with my Embossing Heat Tool and poured the melted wax onto a silicone mat. I gently set the stamp in the hot wax with no pressure, just let it spread on its' own, therefore achieving a more perfect circle.
I got 3-4 that were pretty perfect and several that were not. It's hot wax and unpredictable, but for my first time, it wasn't too bad.
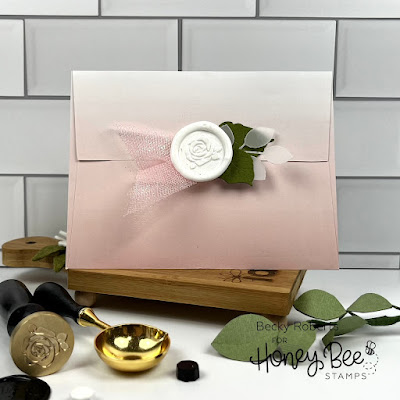
These are a black and white mix and I thought would look great on this light pink ombre envelope.
I added a tuft of pink glittery tulle and a couple leaves under this wax seal.
This would be really cool with a tulle rosette under it...lots of ideas came to me after I finished these so I may do it again.
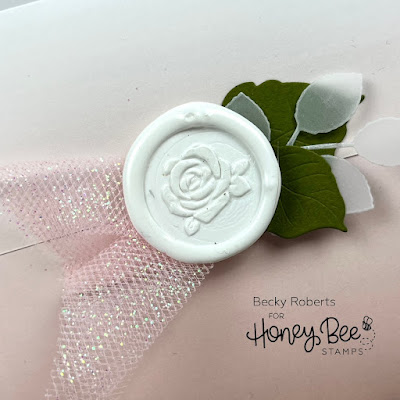
That little blip on the edge is my finger mark where I was testing to see if it was done yet. 😟
Honeycomb Wax Melts: Tuxedo
For more creative ideas, please follow me on my social media platforms.


No comments :
Post a Comment