Hello friends!
Today I'm the featured guest artist on the Ellen Hutson blog with a couple of products from her latest release.
Strawberry Fields Stamps and Dies
I have a couple of tricks for you when using these products, starting with stamping the strawberries.
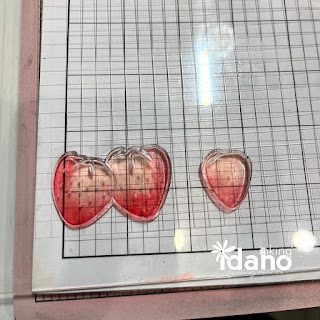
I stamped them first with Concord & 9th Poppy ink and then used a sponge dauber to load up a bit of Cranberry ink and shade the bottoms and sides of the strawberries before stamping again. This adds a little depth to the berries.
Once you have die cut the berries, turn them over on a mat and use a ball stylus to gently rub the center in a circular motion. You will see the strawberries start to cup a little. That is what you want. Add a Foam dot or square to the center of the backside. That will allow you to adhere the berries to your card and retain the shape.
Do the same with the little flowers.
When assembling the basket, it is easiest if you lay the pieces out on something straight, I've used grid paper here, and adhere them by the tabs. This way when you fold it up, they are straight and will go together very easy.
For the finishing touches, I've hand cut a tag to add the strawberries on. I did a little bit of stenciling with River Rock Stencil from Honey Bee Stamps,. The hello is stamped in Versamark and embossed with white embossing powder. Finally I tied a piece of ribbon around the basket and attached the tag.
All of the products I've used are available in the Ellen Hutson Shop.
Dies:
Berry Basket Die
Strawberry Fields Stamps and Dies
River Rock Stencil (Honey Bee Stamps)
Cardstock:
Sea Glass cardstock (Concord & 9th)
White Cardstock
Ink Pads:
Poppy, Cranberry, Buttercup, Sea Glass, Parsley, and Evergreen (Concord & 9th)
Memento Black
Versamark
Supplies:
White Embossing Powder
Sponge Dauber
Mat and Ball Stylus
For more creative ideas, please follow me on my social media platforms.


Terrific tips and tricks Becky!! Thank you for sharing them as well as your delightful project!! :)
ReplyDeleteFun Project!!!
ReplyDelete